My new home office
Due to a growing family, I got kicked out of the spare bedroom I from which I usually work. We have a single garage, and I thought I’d get a couple of quotes to convert it into a rough-and-ready office.
Quotes came in around the £7K to £10K mark, and my first thought was that I didn’t adequately convey the rough-and-readiness I could stomach. (Our plan is to renovate the entire house in a couple of years, so anything done now will be temporary.)
My second thought was “Surely I can do this myself for less”.
And so I did! Besides - I’m no stranger to a spot of DIY.
Initial prep work was done by myself, a door put in by Mister Constructor, and finally the redecorating done by myself and our friend’s dad Colin.
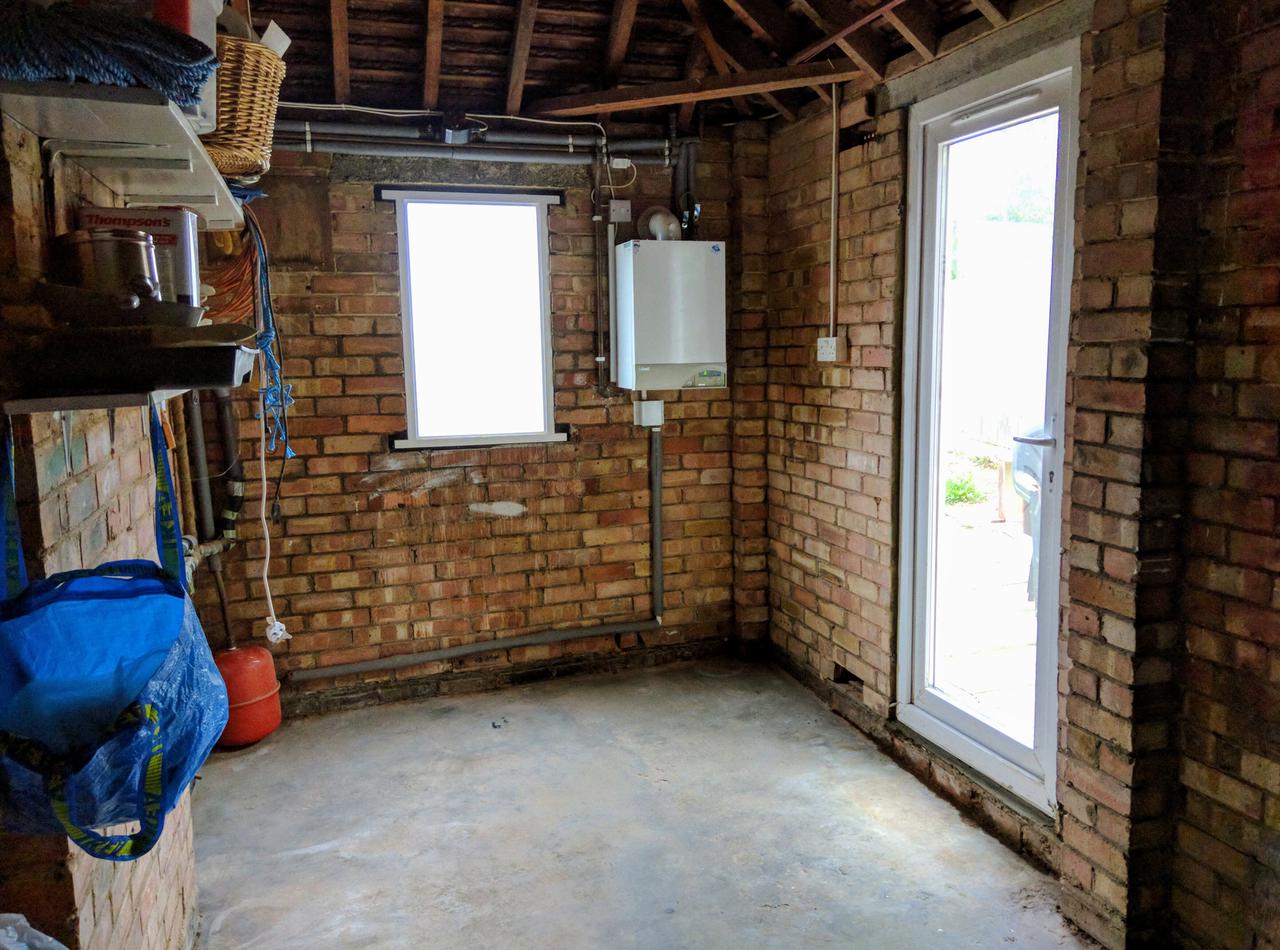
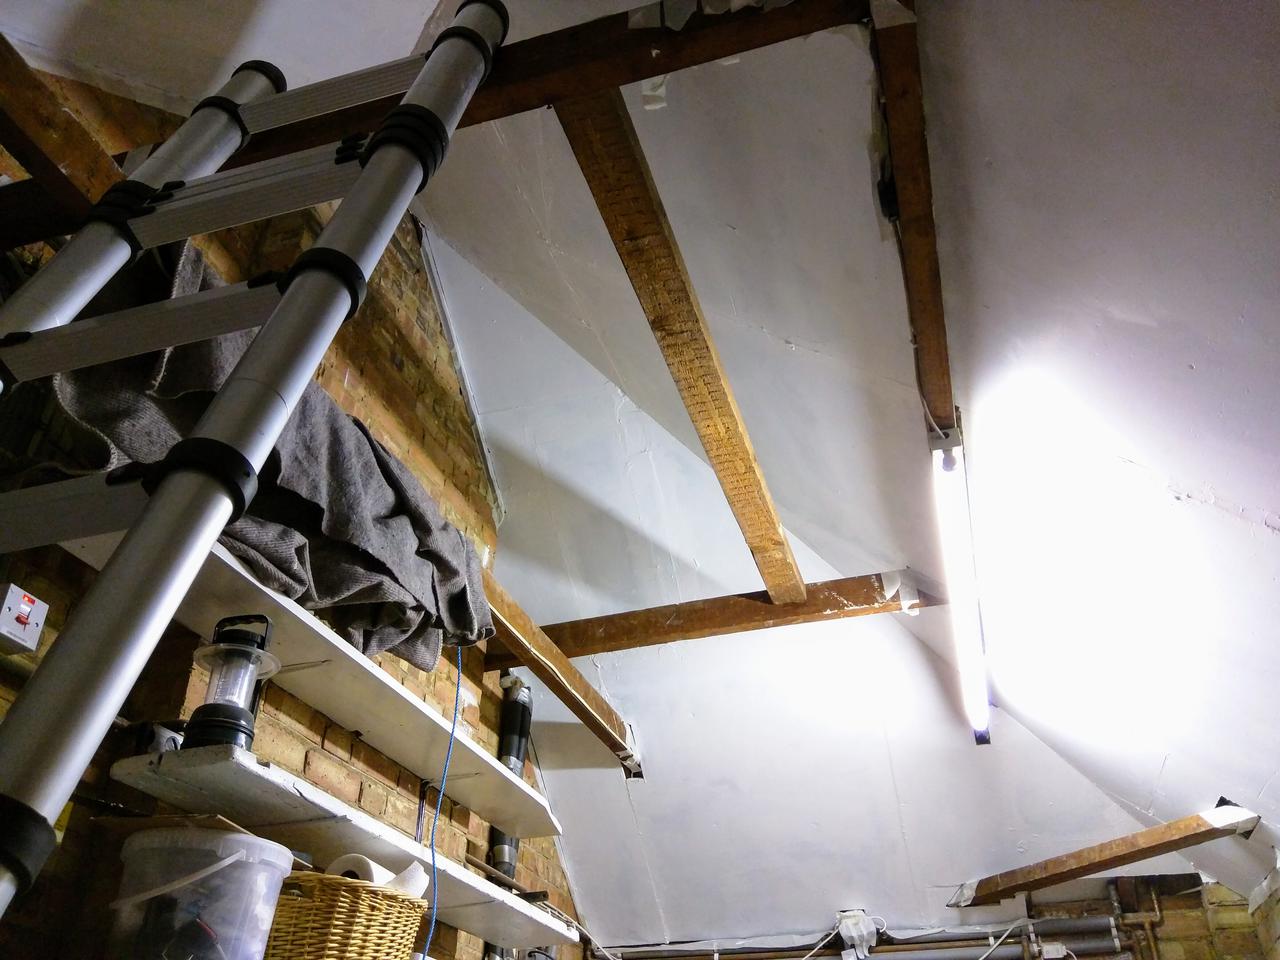
It starts with junk
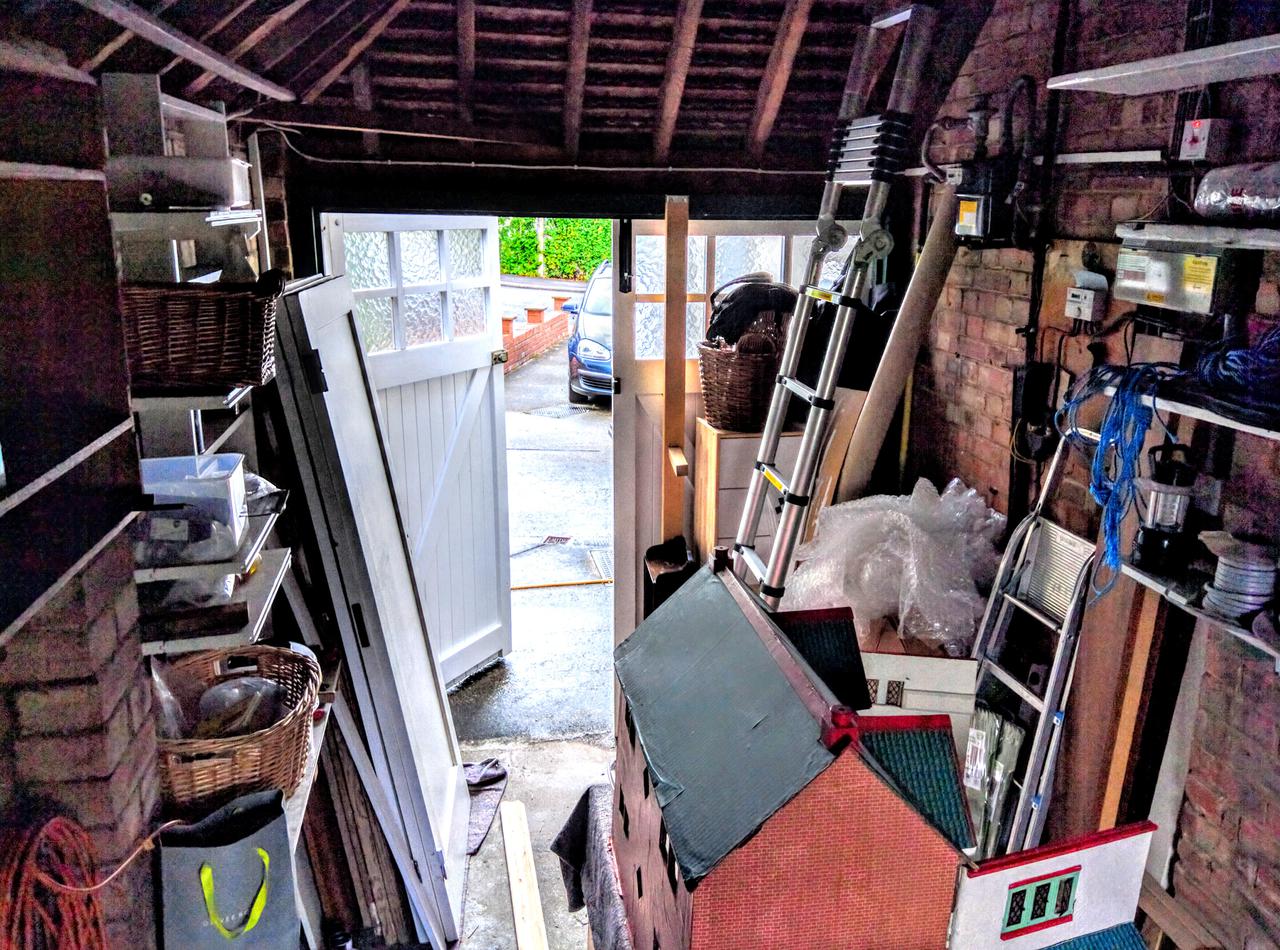
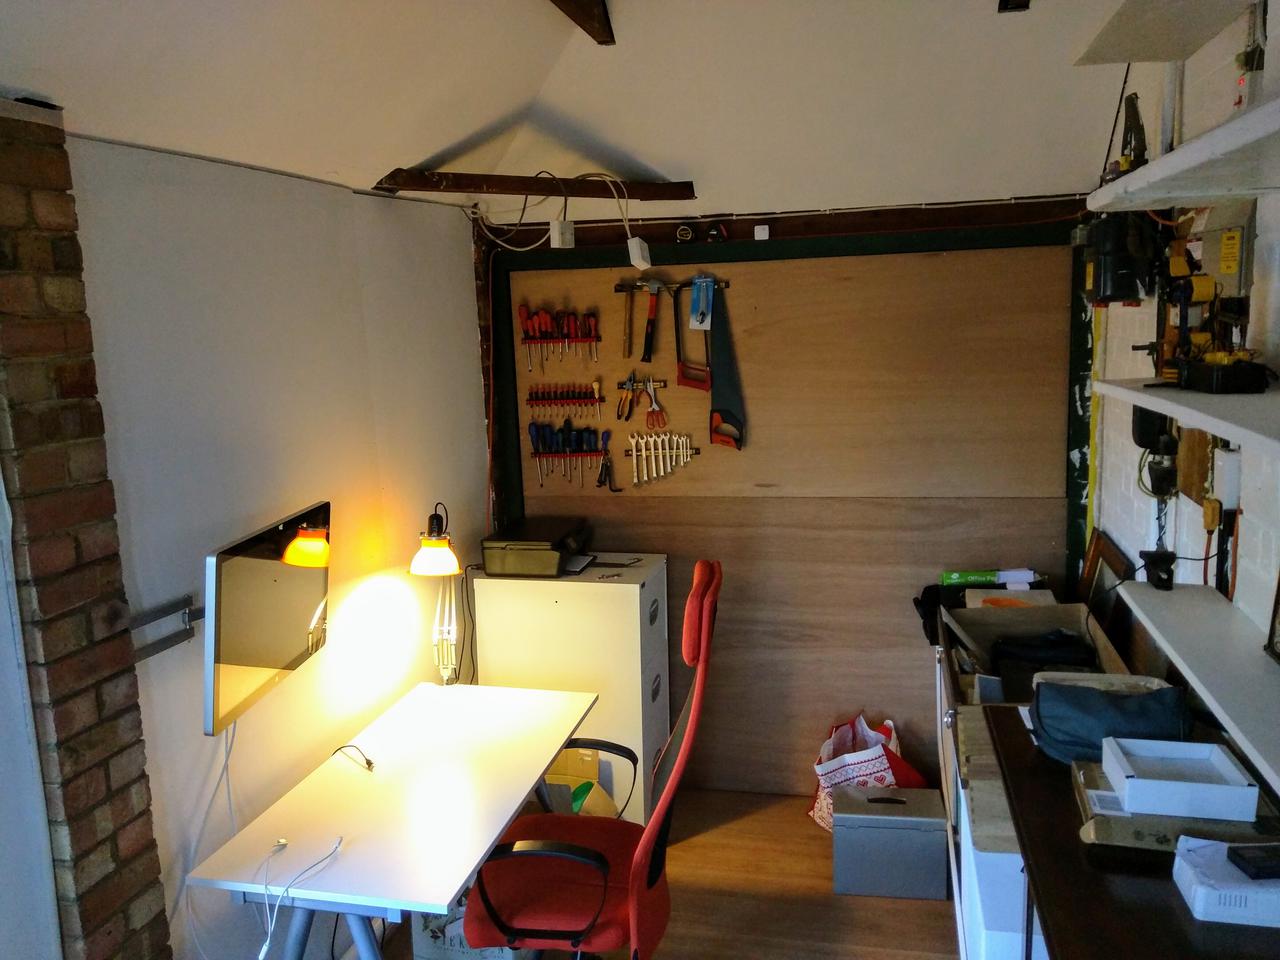
The first step is to clear the clutter. The doll’s house is going into the shed because I am fixing it up for my daughter before the end of the year. The tools also stay.
Access
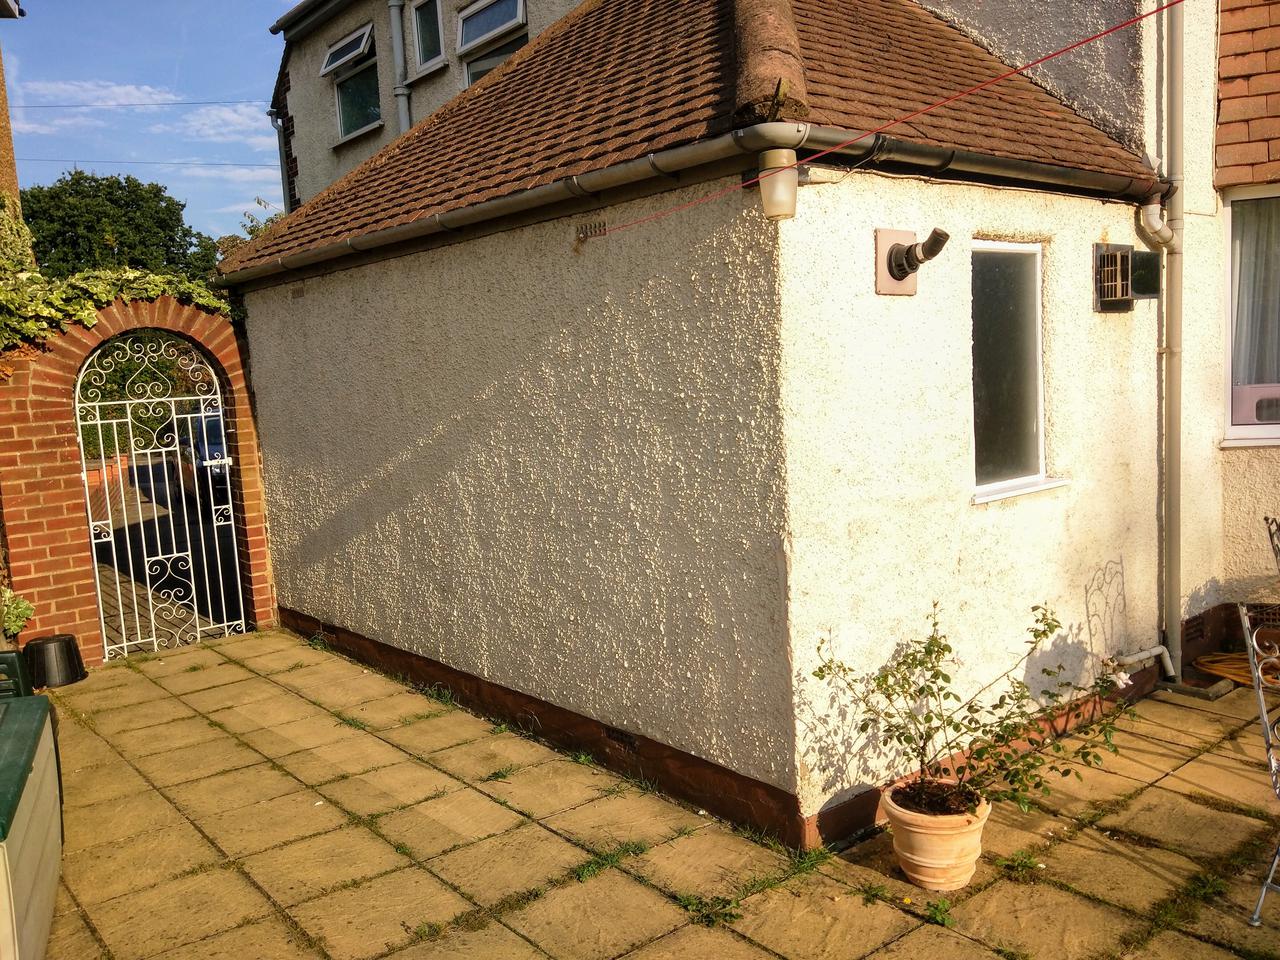
The wall on the left will be where the new backdoor is put in. Note the window on the right - I wanted to take it out and re-use the lintel for a narrow door, but building regulations needed a wider lintel.
After discussions with Mister Constructor, re-installing a bigger lintel would have been a nightmare considering the existing boiler pipework surrounding it.
Preparations
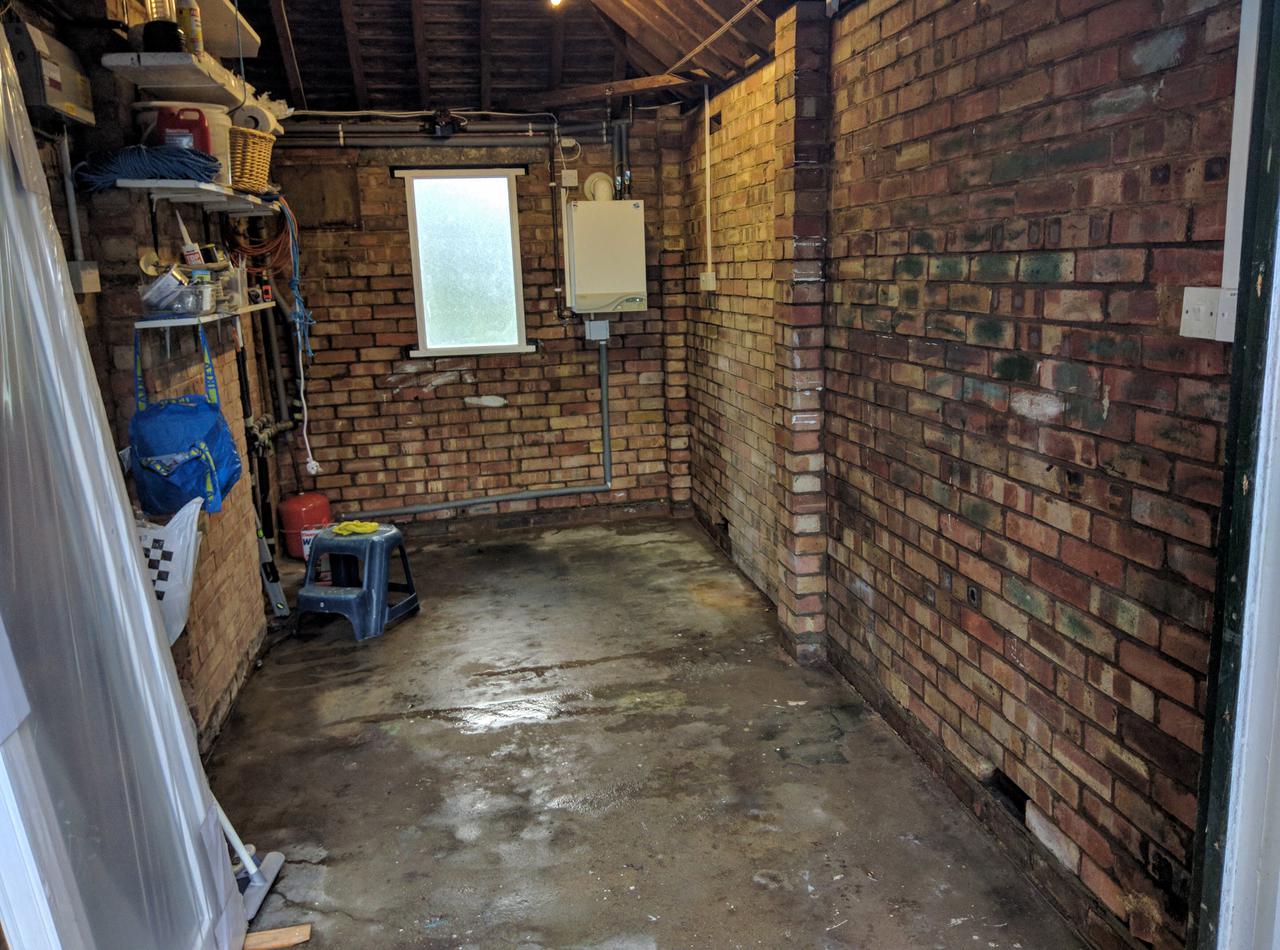
Firstly, I had to do a few initial preparation tasks, which included
- cleaning all the oil spills off the floor
- brushing the walls to remove any loose render
- sealing the floors and walls with water seal
In retrospect, this is the stage at which I should’ve painted the walls. The initial plan was to preserve the exposed brick look with a thick varnish, but white paint is distraction free for work and reflects more light. Also, once the floors were down, it was a pain in the rear side to cover them.
Access part II
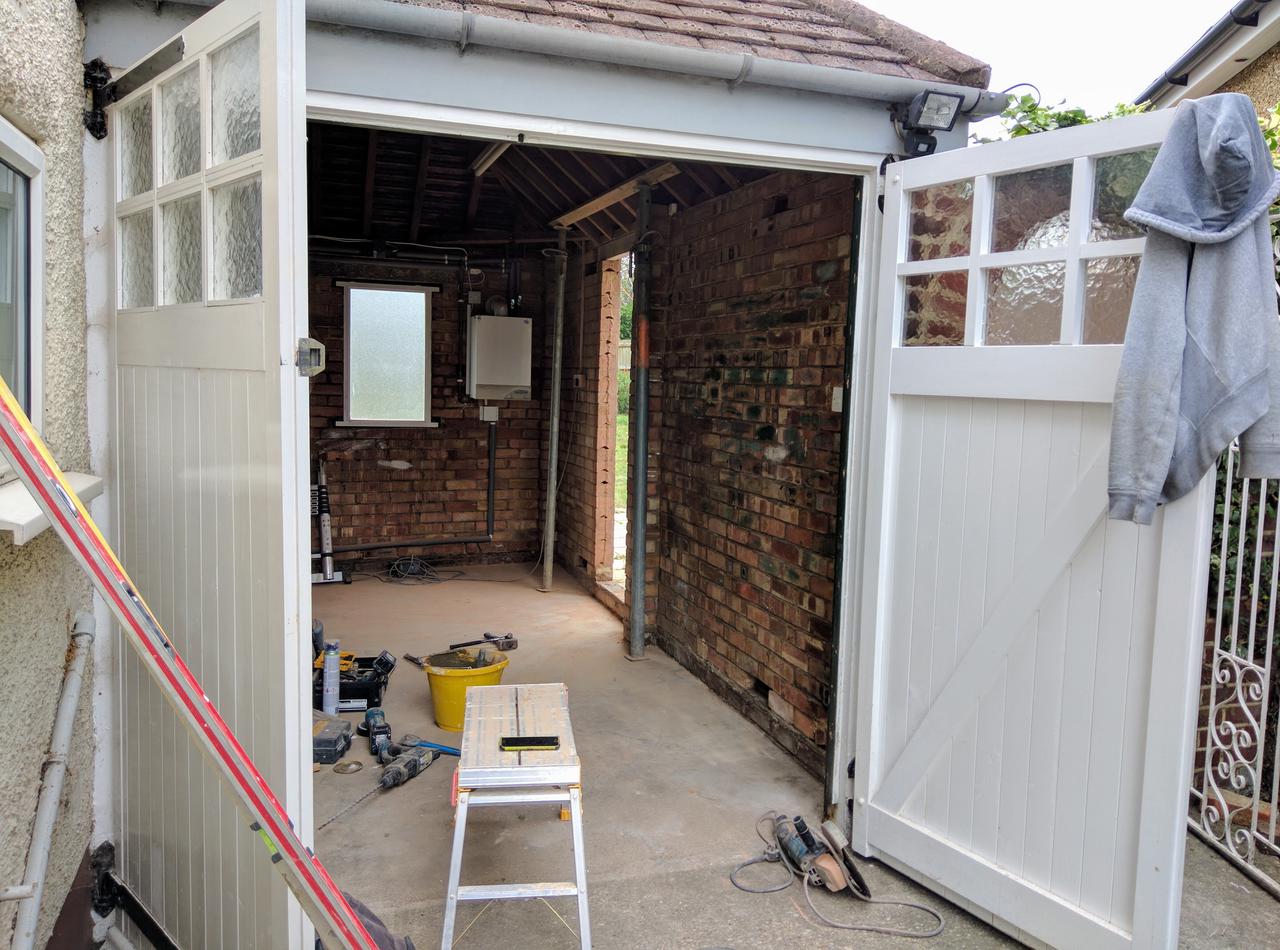
For the side-access door, we installed a new regulation-compliant lintel and then cut out doorway using a big loud circular saw.
And here is the actual door. I bought all-glass to maximise light.
The redecorating starts
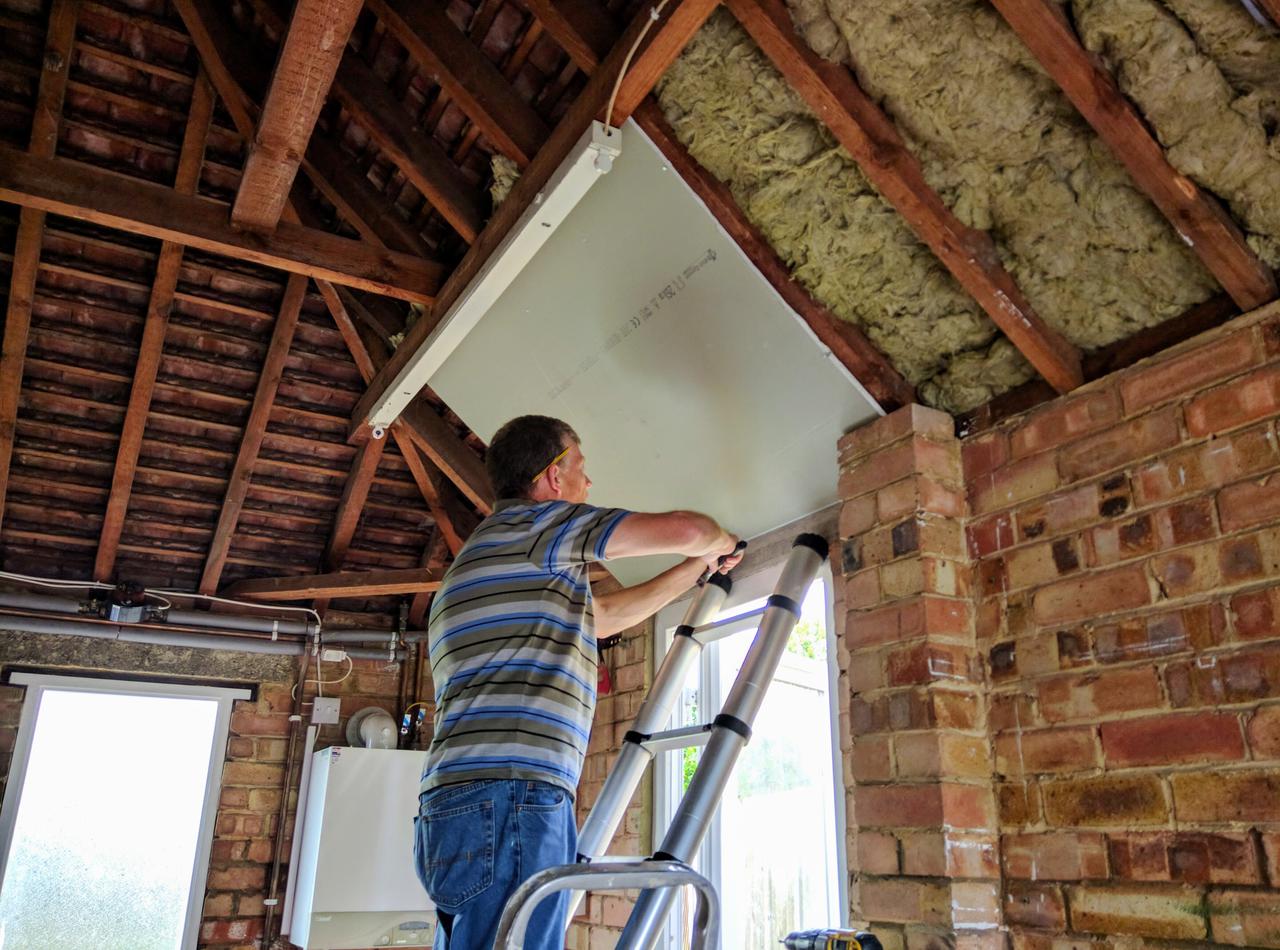
With all the preparations done and the door put in, Colin can start. The first ceiling panel goes in!
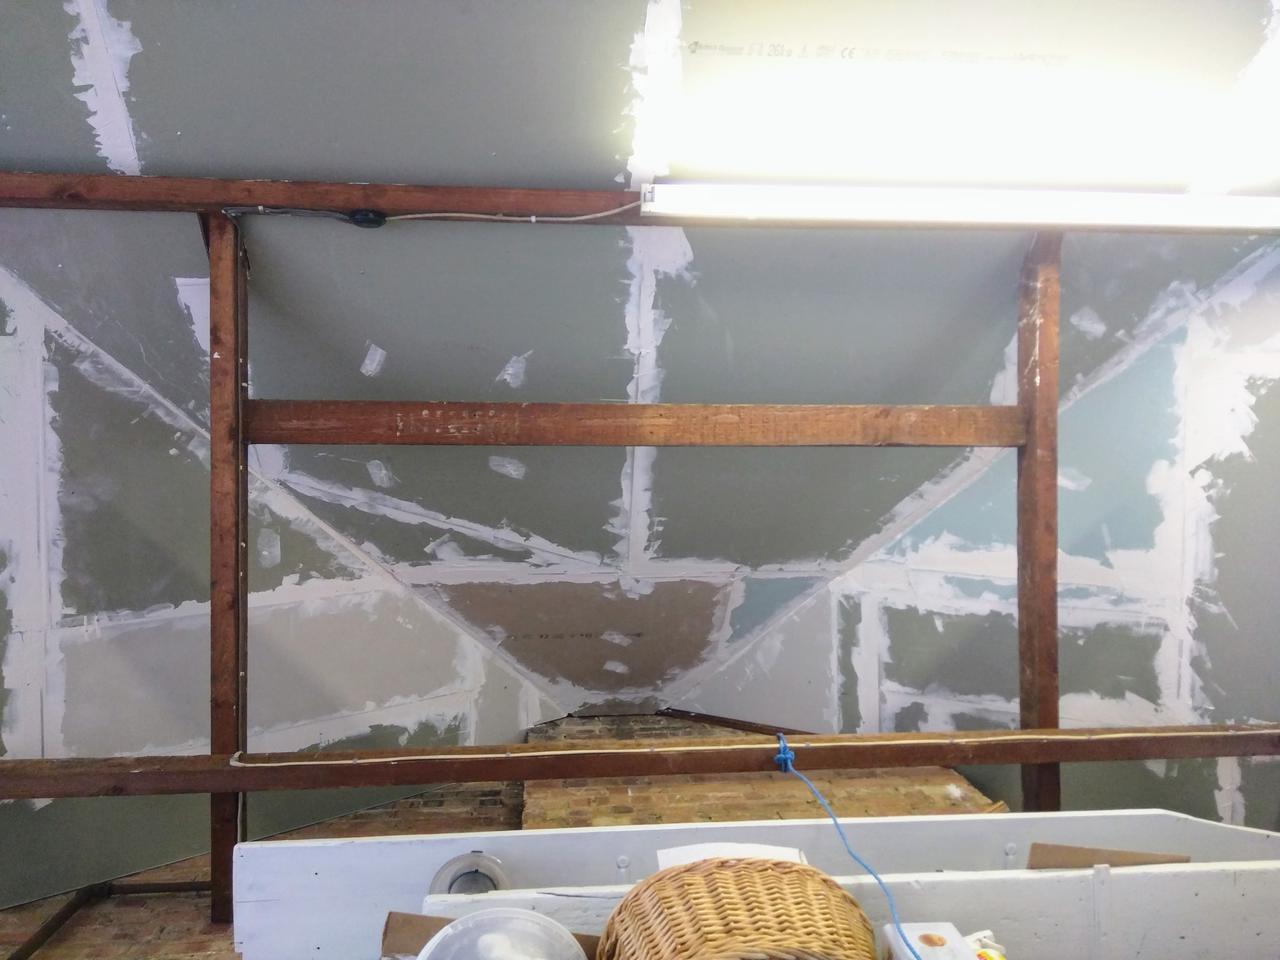
Cue a montage where Colin and I drink lots of tea and whiz through loads of plasterboard to finish off the ceiling. In real time, this took us a few days. A few times we also confused our lefts with our rights and our ups with our downs - note the unusual patterns ;-)
The floor
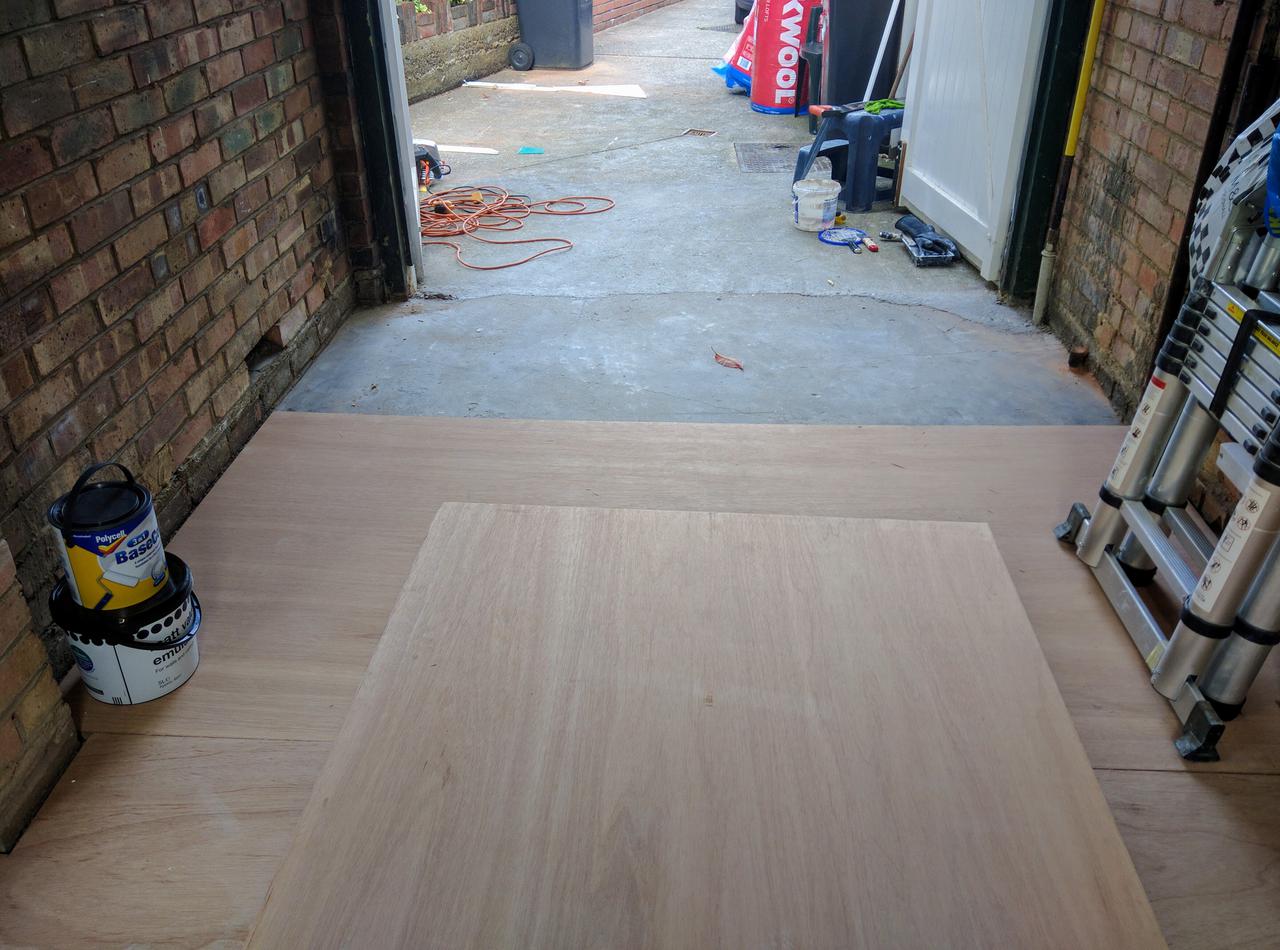
The marine ply floor goes in. Another thing I wish I had done earlier was level the floor. When I sealed the floor, I noticed that it sloped toward the chimney breast as all the liquid collected on one side.
The downside is that one side of the room is an inch lower, and my chair has wheels. Also, I’m yet to do some standing-up work along the length of the space, and the imbalance might do something to my back.
While the floor settles down, I paint the ceiling white.
Garage door no more
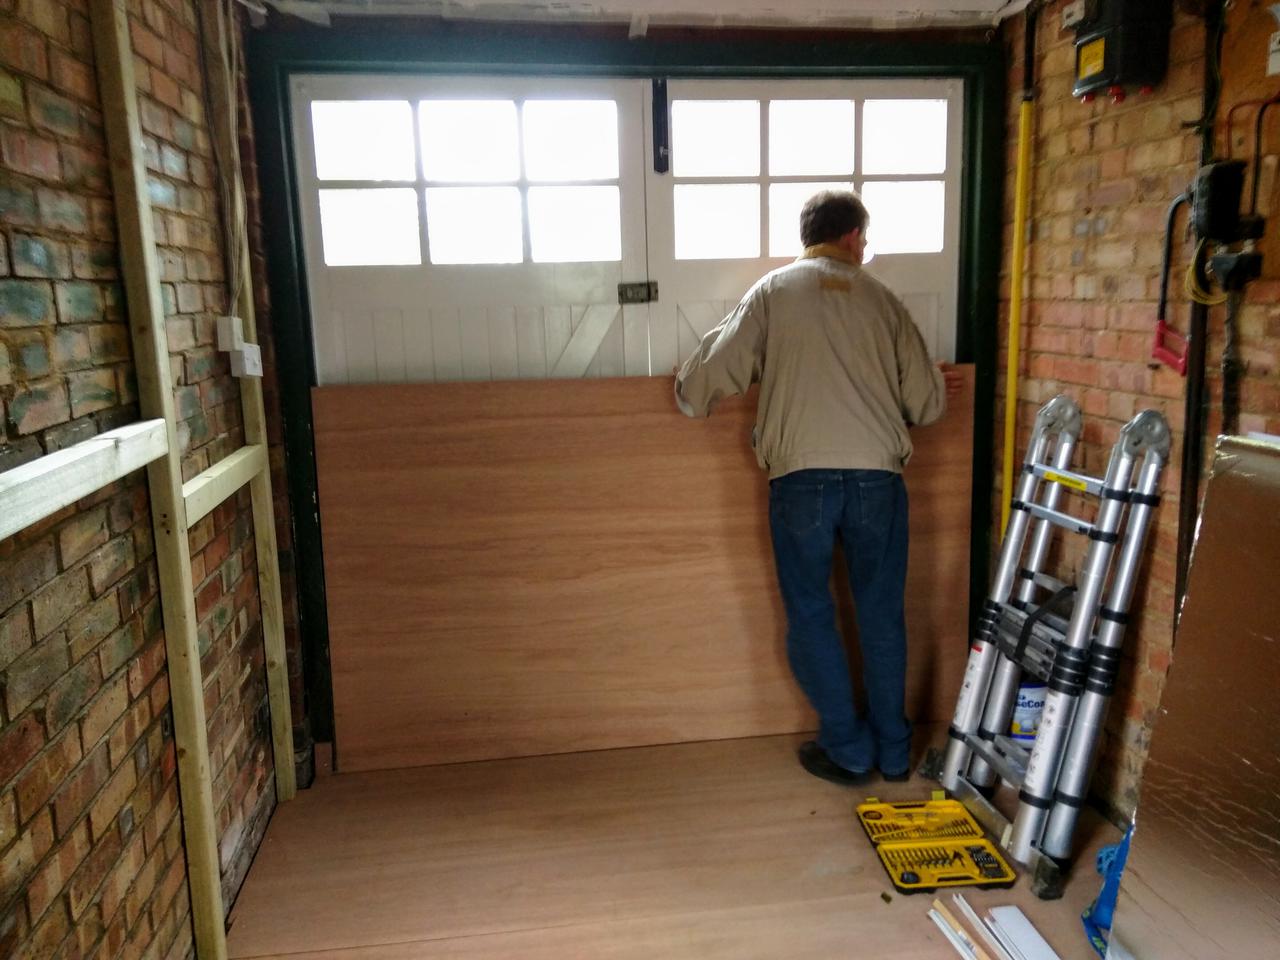
We seal off the garage door with marine ply and stuff it with Rockwool down the back.
Warm walls
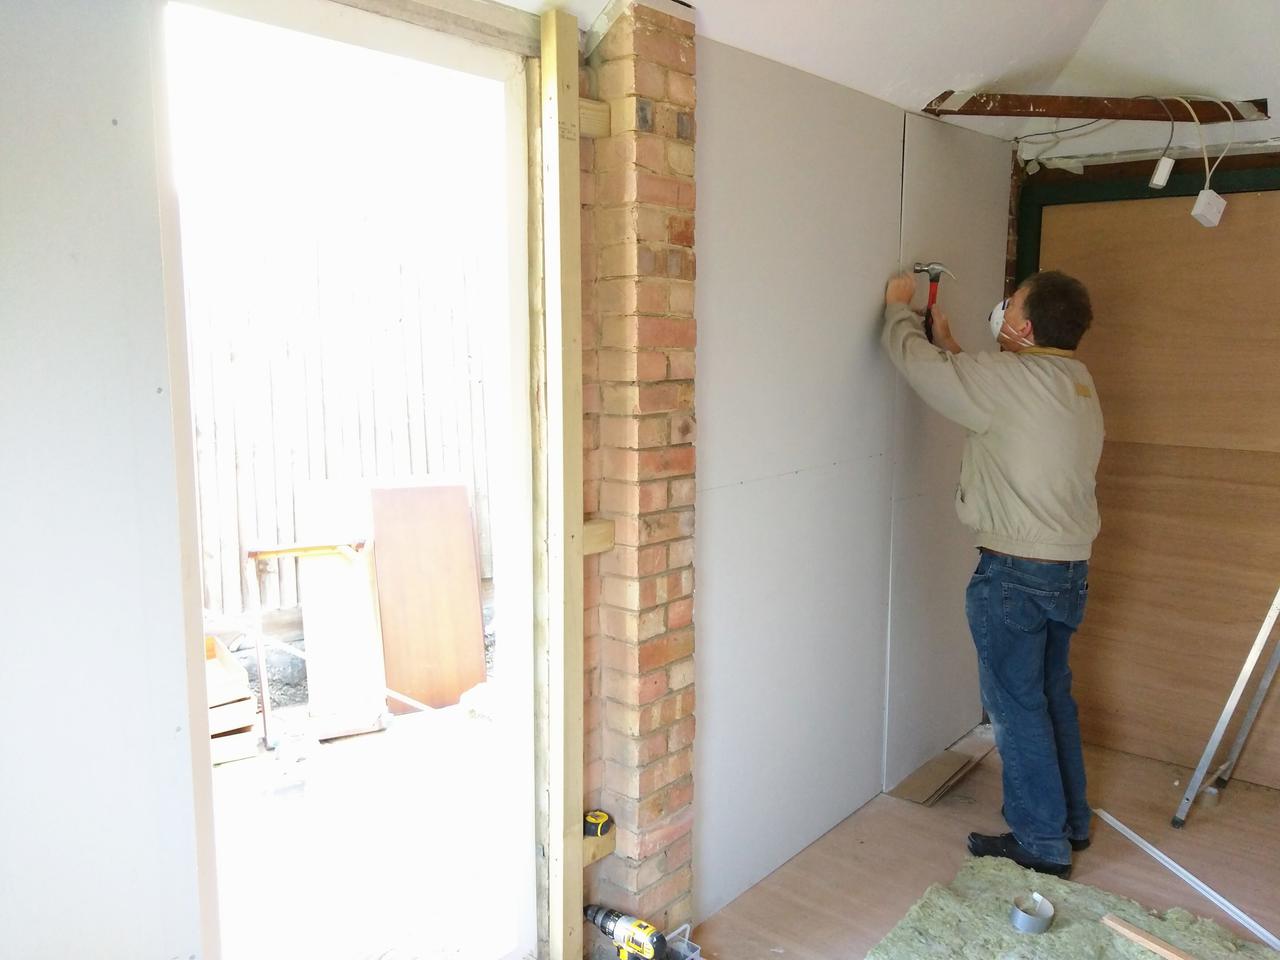
We also seal off the single-skin walls to keep the office toasty over winter.
Paint all the things
The brick walls get a few coats of white paint. As alluded to earlier, this is the bit I wish I had done at the start.
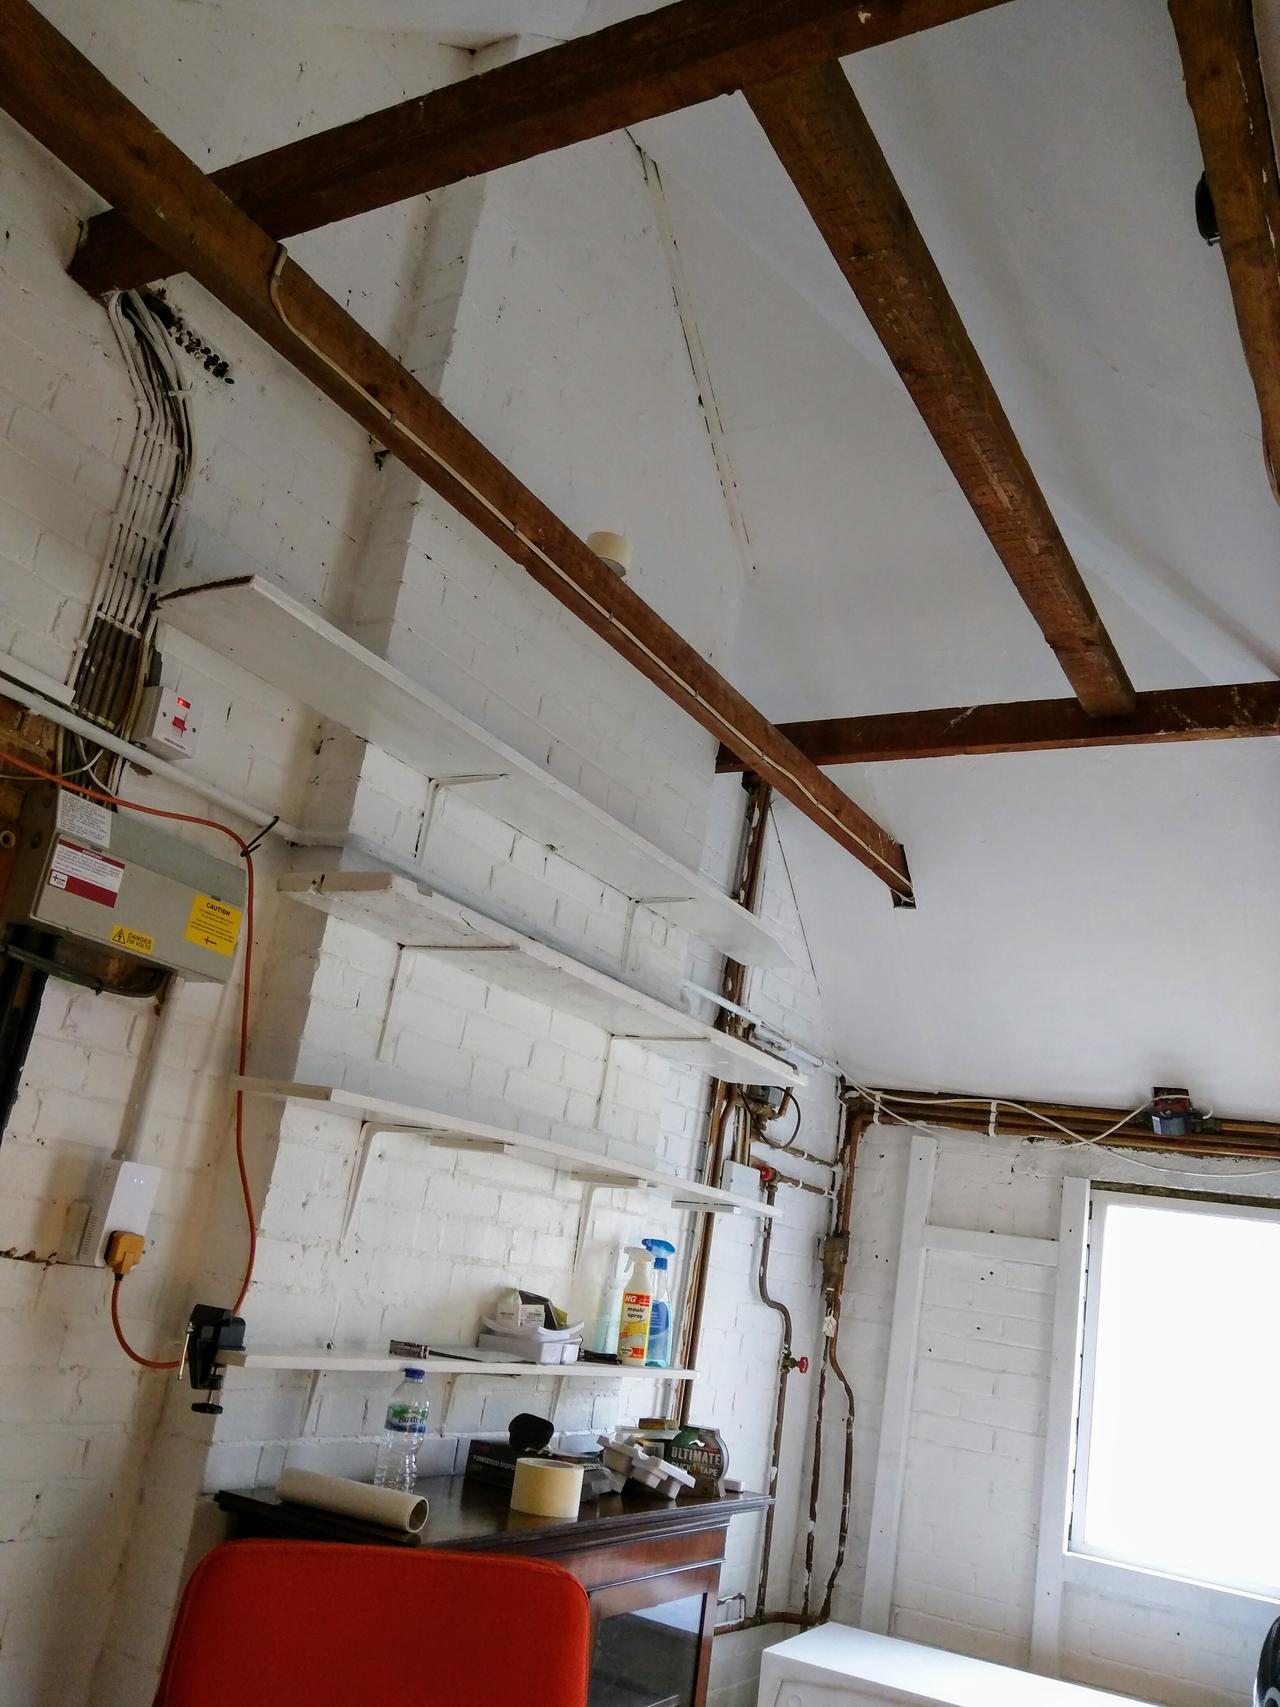
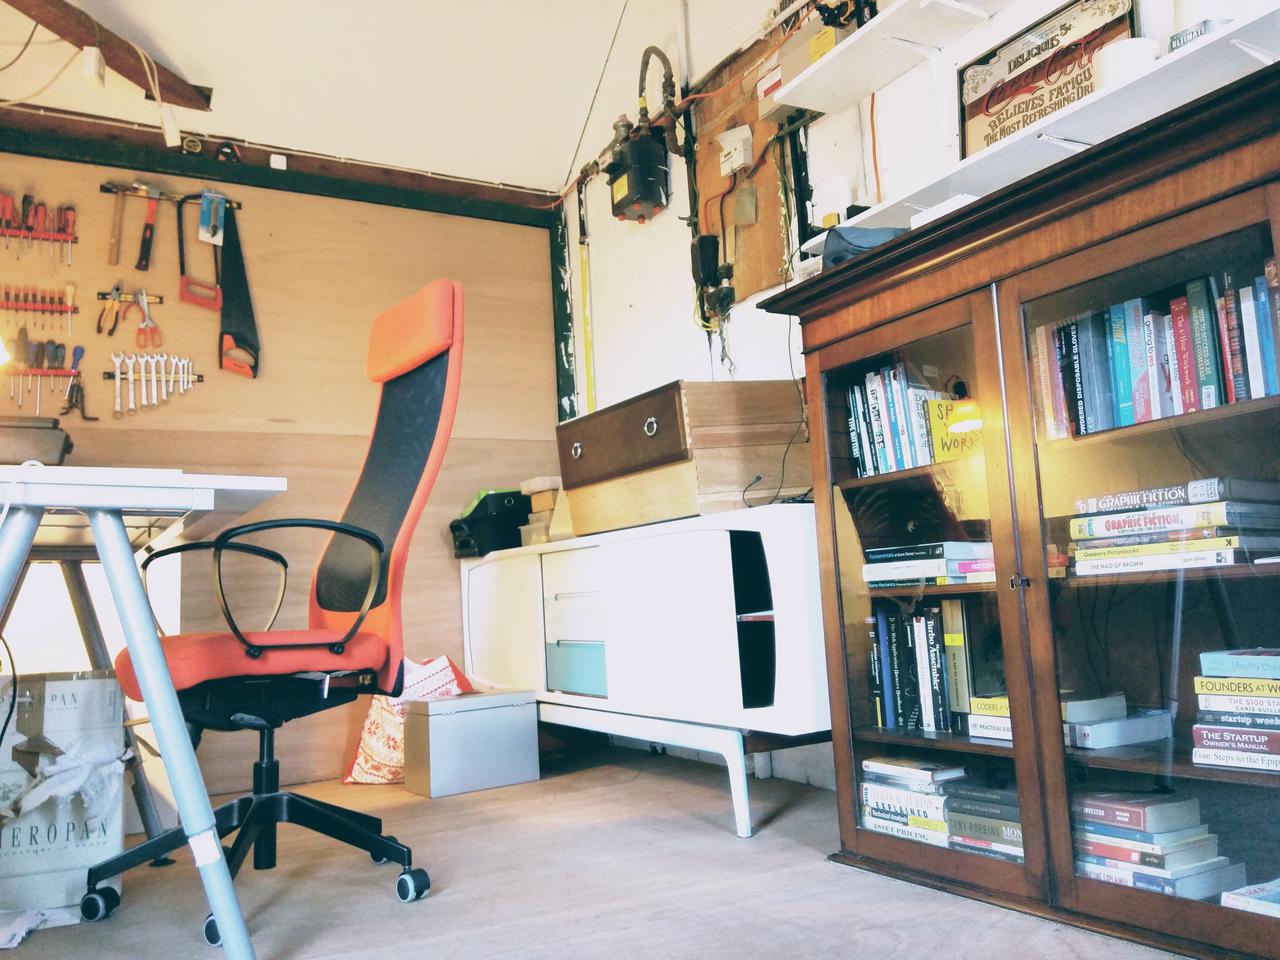
And, as you can see, the result is a comfortable little man-cave. Some stuff needs organising. I’m waiting for another IKEA desk and made-to-order mods to raise the trestles so I can stand when I draw.
Costs
| supplier | material | date | GBP |
|---|---|---|---|
| B&Q | misc | 2016-09-14 | 63.31 |
| B&Q | door | 2016-09-14 | 180 |
| Mister Constructor | door install; lintel | 2016-09-15 | 570 |
| Builder Depot | marine ply; plasterboard | 2016-09-21 | 532.43 |
| B&Q | misc | 2016-09-28 | 62.64 |
| B&Q | misc | 2016-09-29 | 23.94 |
| B&Q | misc | 2016-09-30 | 30.75 |
| Builder Depot | duplex | 2016-10-01 | 169.74 |
| B&Q | misc | 2016-10-04 | 26.59 |
| PerspexSheet.uk | perspex window | 2016-10-04 | 11.19 |
| Colin | DIY | 760 | |
| Travis Perkins | paint; masking tape | 2016-10-10 | 50.38 |
| Total | 2480.97 | </table> The miscellaneous items in the above table include things like - dust masks and respirators - blades for the Stanley knife - paint brushes - scrapers - safety goggles - water sealant - filler - duct tape - new pliers - caulk - few more small pieces of plasterboard The perspex window covered the existing window for a poor man's double glazing. ## Conclusion There you have it. It took me three weeks but a few thousand pounds less than the lowest quote. Throughout I sometimes regretted not just paying someone to do it all in a week, but on the whole, it was fun. I learnt something, consider it a holiday, and also somewhat of an apprenticeship. I also relish the thought of not having to put my art equipment away when wrap up the day. **UPDATE** A few more snaps following the [new desk](/2016/11/20/my-new-85-standing-desk/) and a litte tidying. 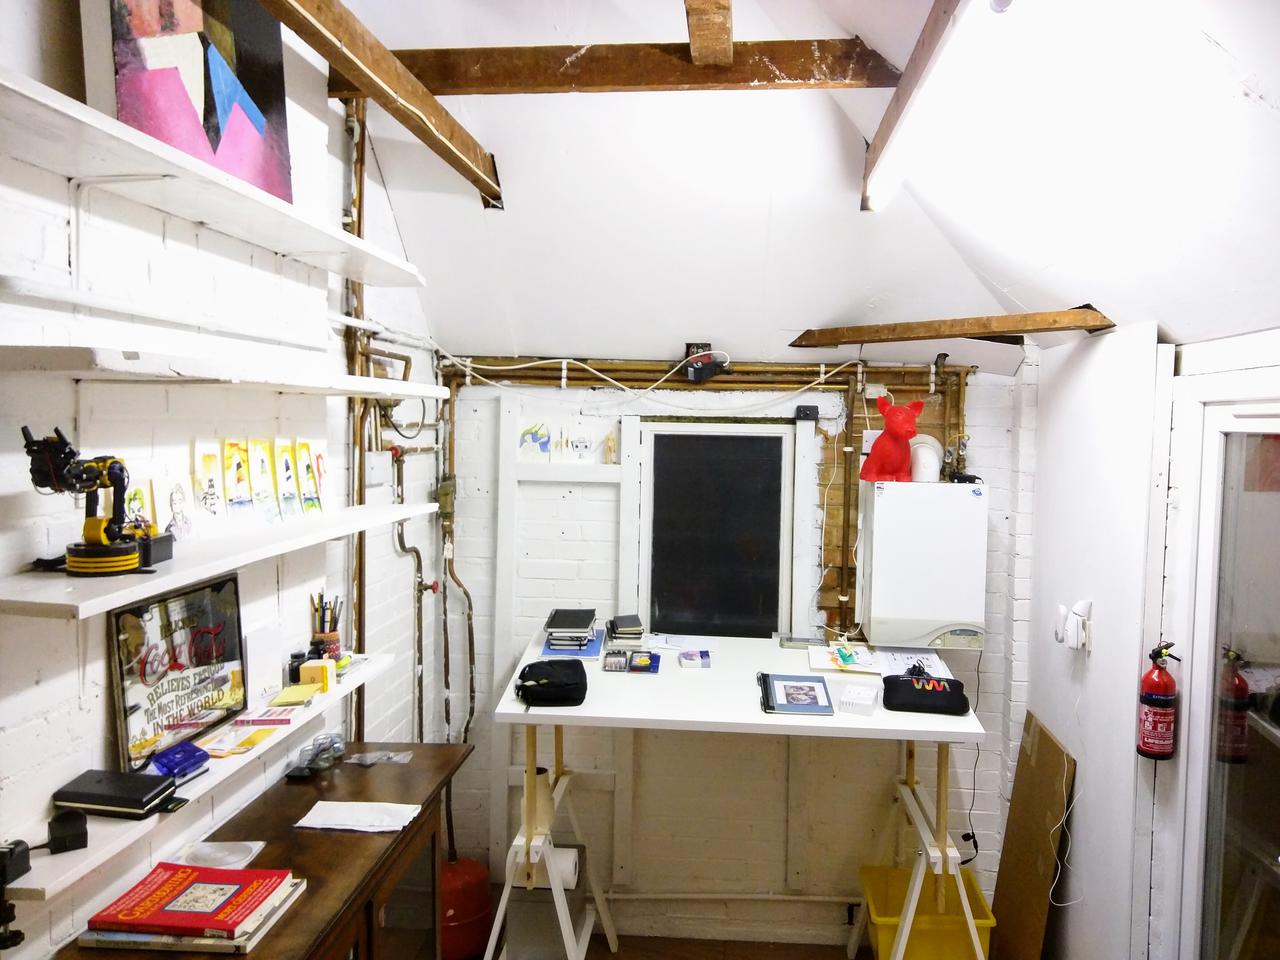  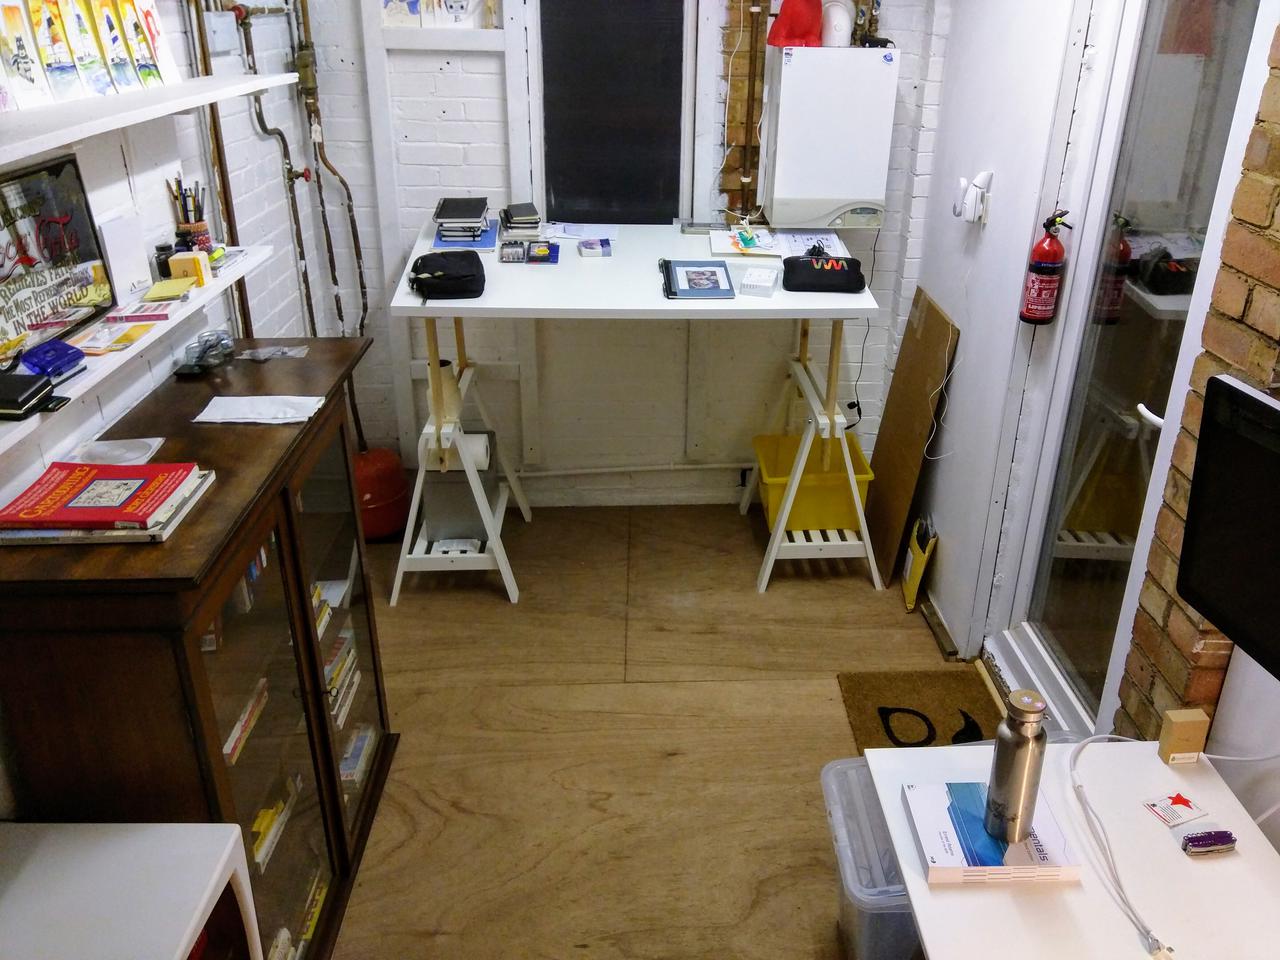 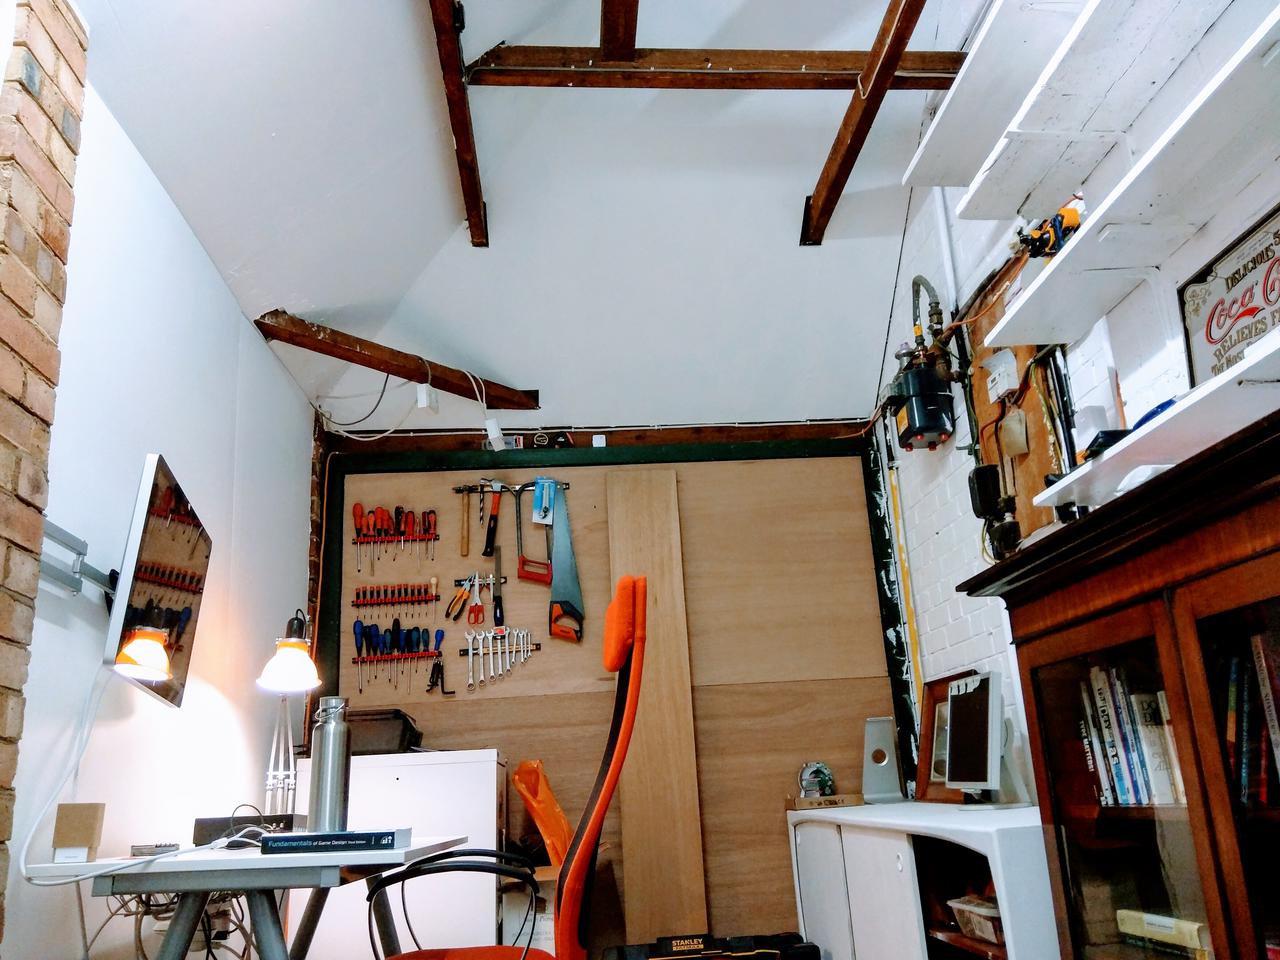 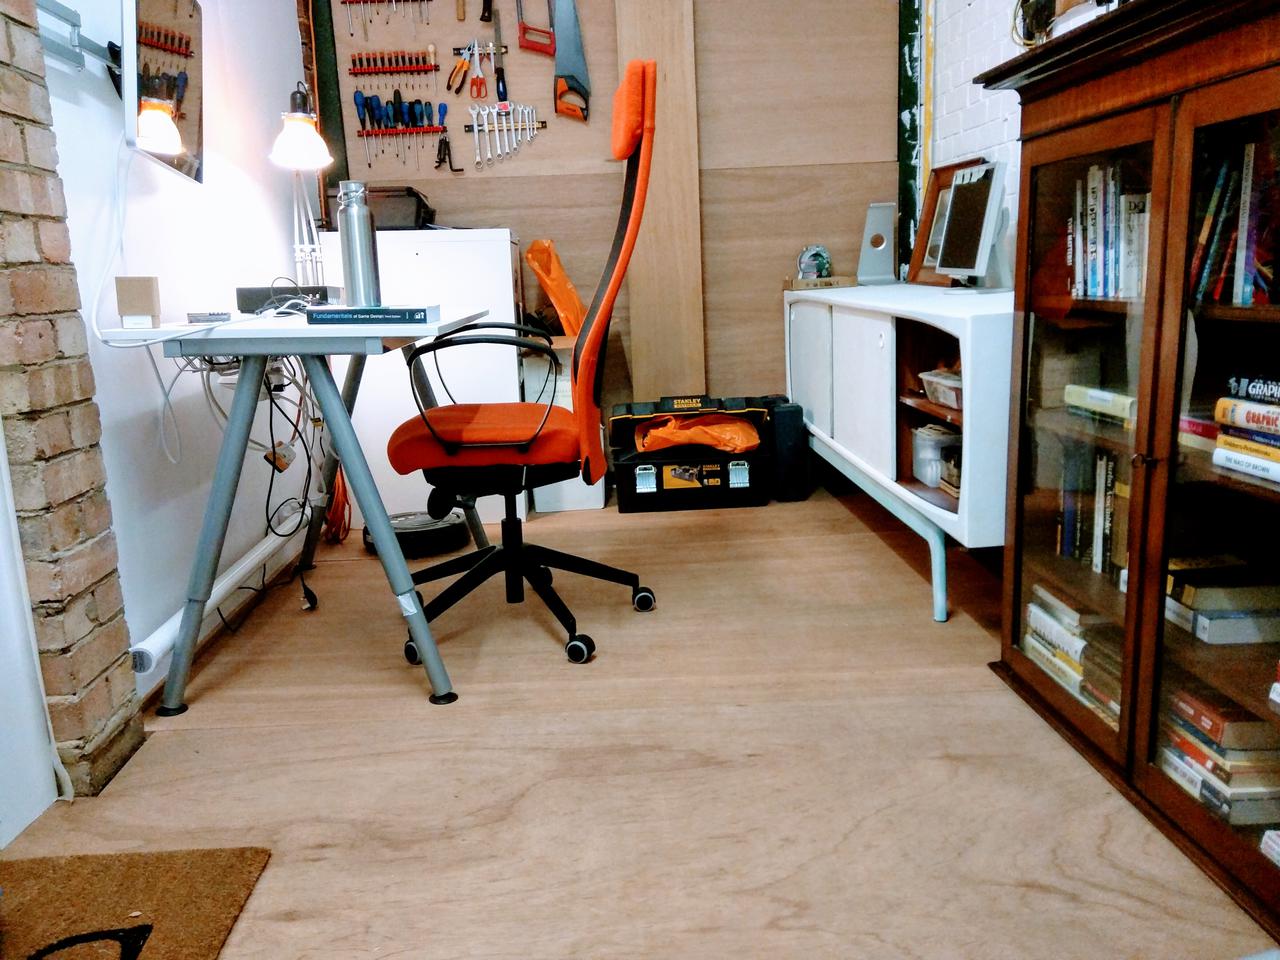 ||